
I love collecting stationery and art supplies. I also love trying out new art styles and DIYs, so there’s not a single medium I prefer over others. That means I use most of the stuff I buy, eventually.
I am not a professional artist, so I don’t like to splurge on top-end materials. I find that a good low range product is best for those just starting out and a medium student range for those who pursue art as a hobby. Some things, like paint brushes and erasers, need to be top quality so that they don’t give up on you mid- way or worse, spoil your art piece. Everything else is subjective to your use and preference.
I would break down my art supply closet into four parts
- Paper
- Colours
- Utility
- Storage
I explain each part in detail below.
Papers I use for my Art:
Use the right kind of paper to get the best out of your colour medium.
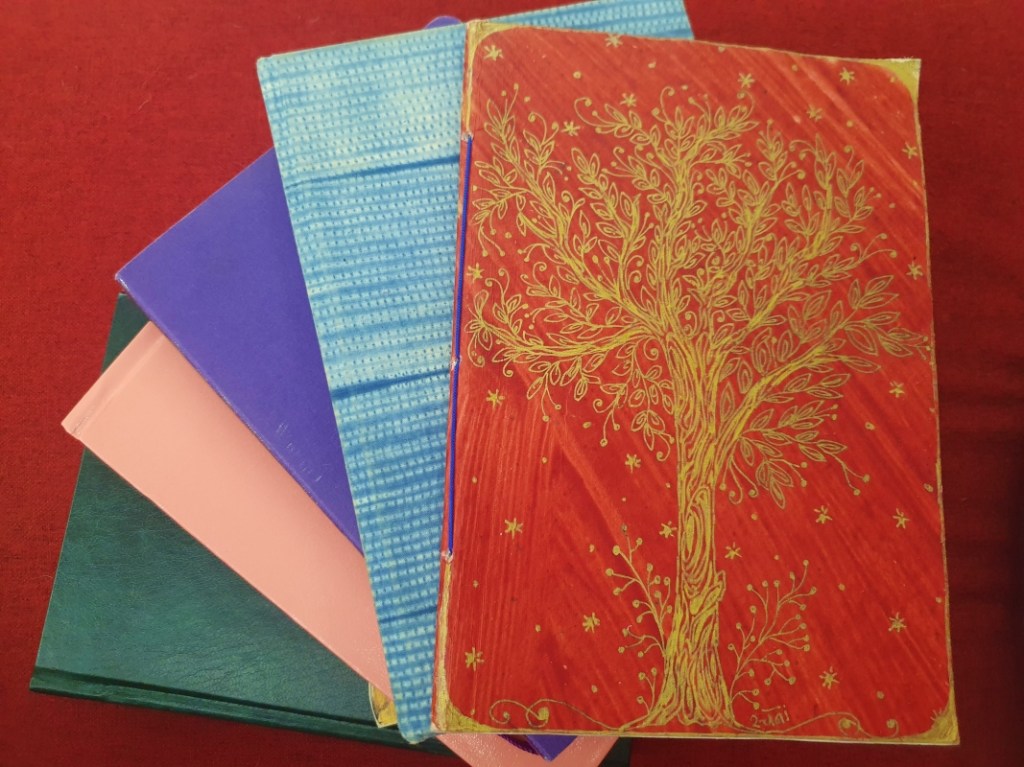
- Journals: I have reviewed a few journals in my previous posts. I prefer journaling as there’s no pressure to perfect something or monetise it. I can create for the fun of it and not be afraid to try out new styles.
- Watercolour paper: As a beginner, look out for affordable watercolour paper. I used to try water colouring on regular paper, and it was a disaster. Watercolour papers are thicker and absorb the moisture well, giving you a better effect.
- Copier paper: This is great for dry media like markers, pens and pencils, pastels and charcoals. Look for printing paper that’s 90 to 100 GSM. These are thicker and smoother, so your colours show up really well.
- Canvas sheets: Canvas sheets or stretched canvas are best for heavier paints like acrylic and oils. If you’re just starting out, smaller canvas pads are perfect. You can choose to frame the pages as well.
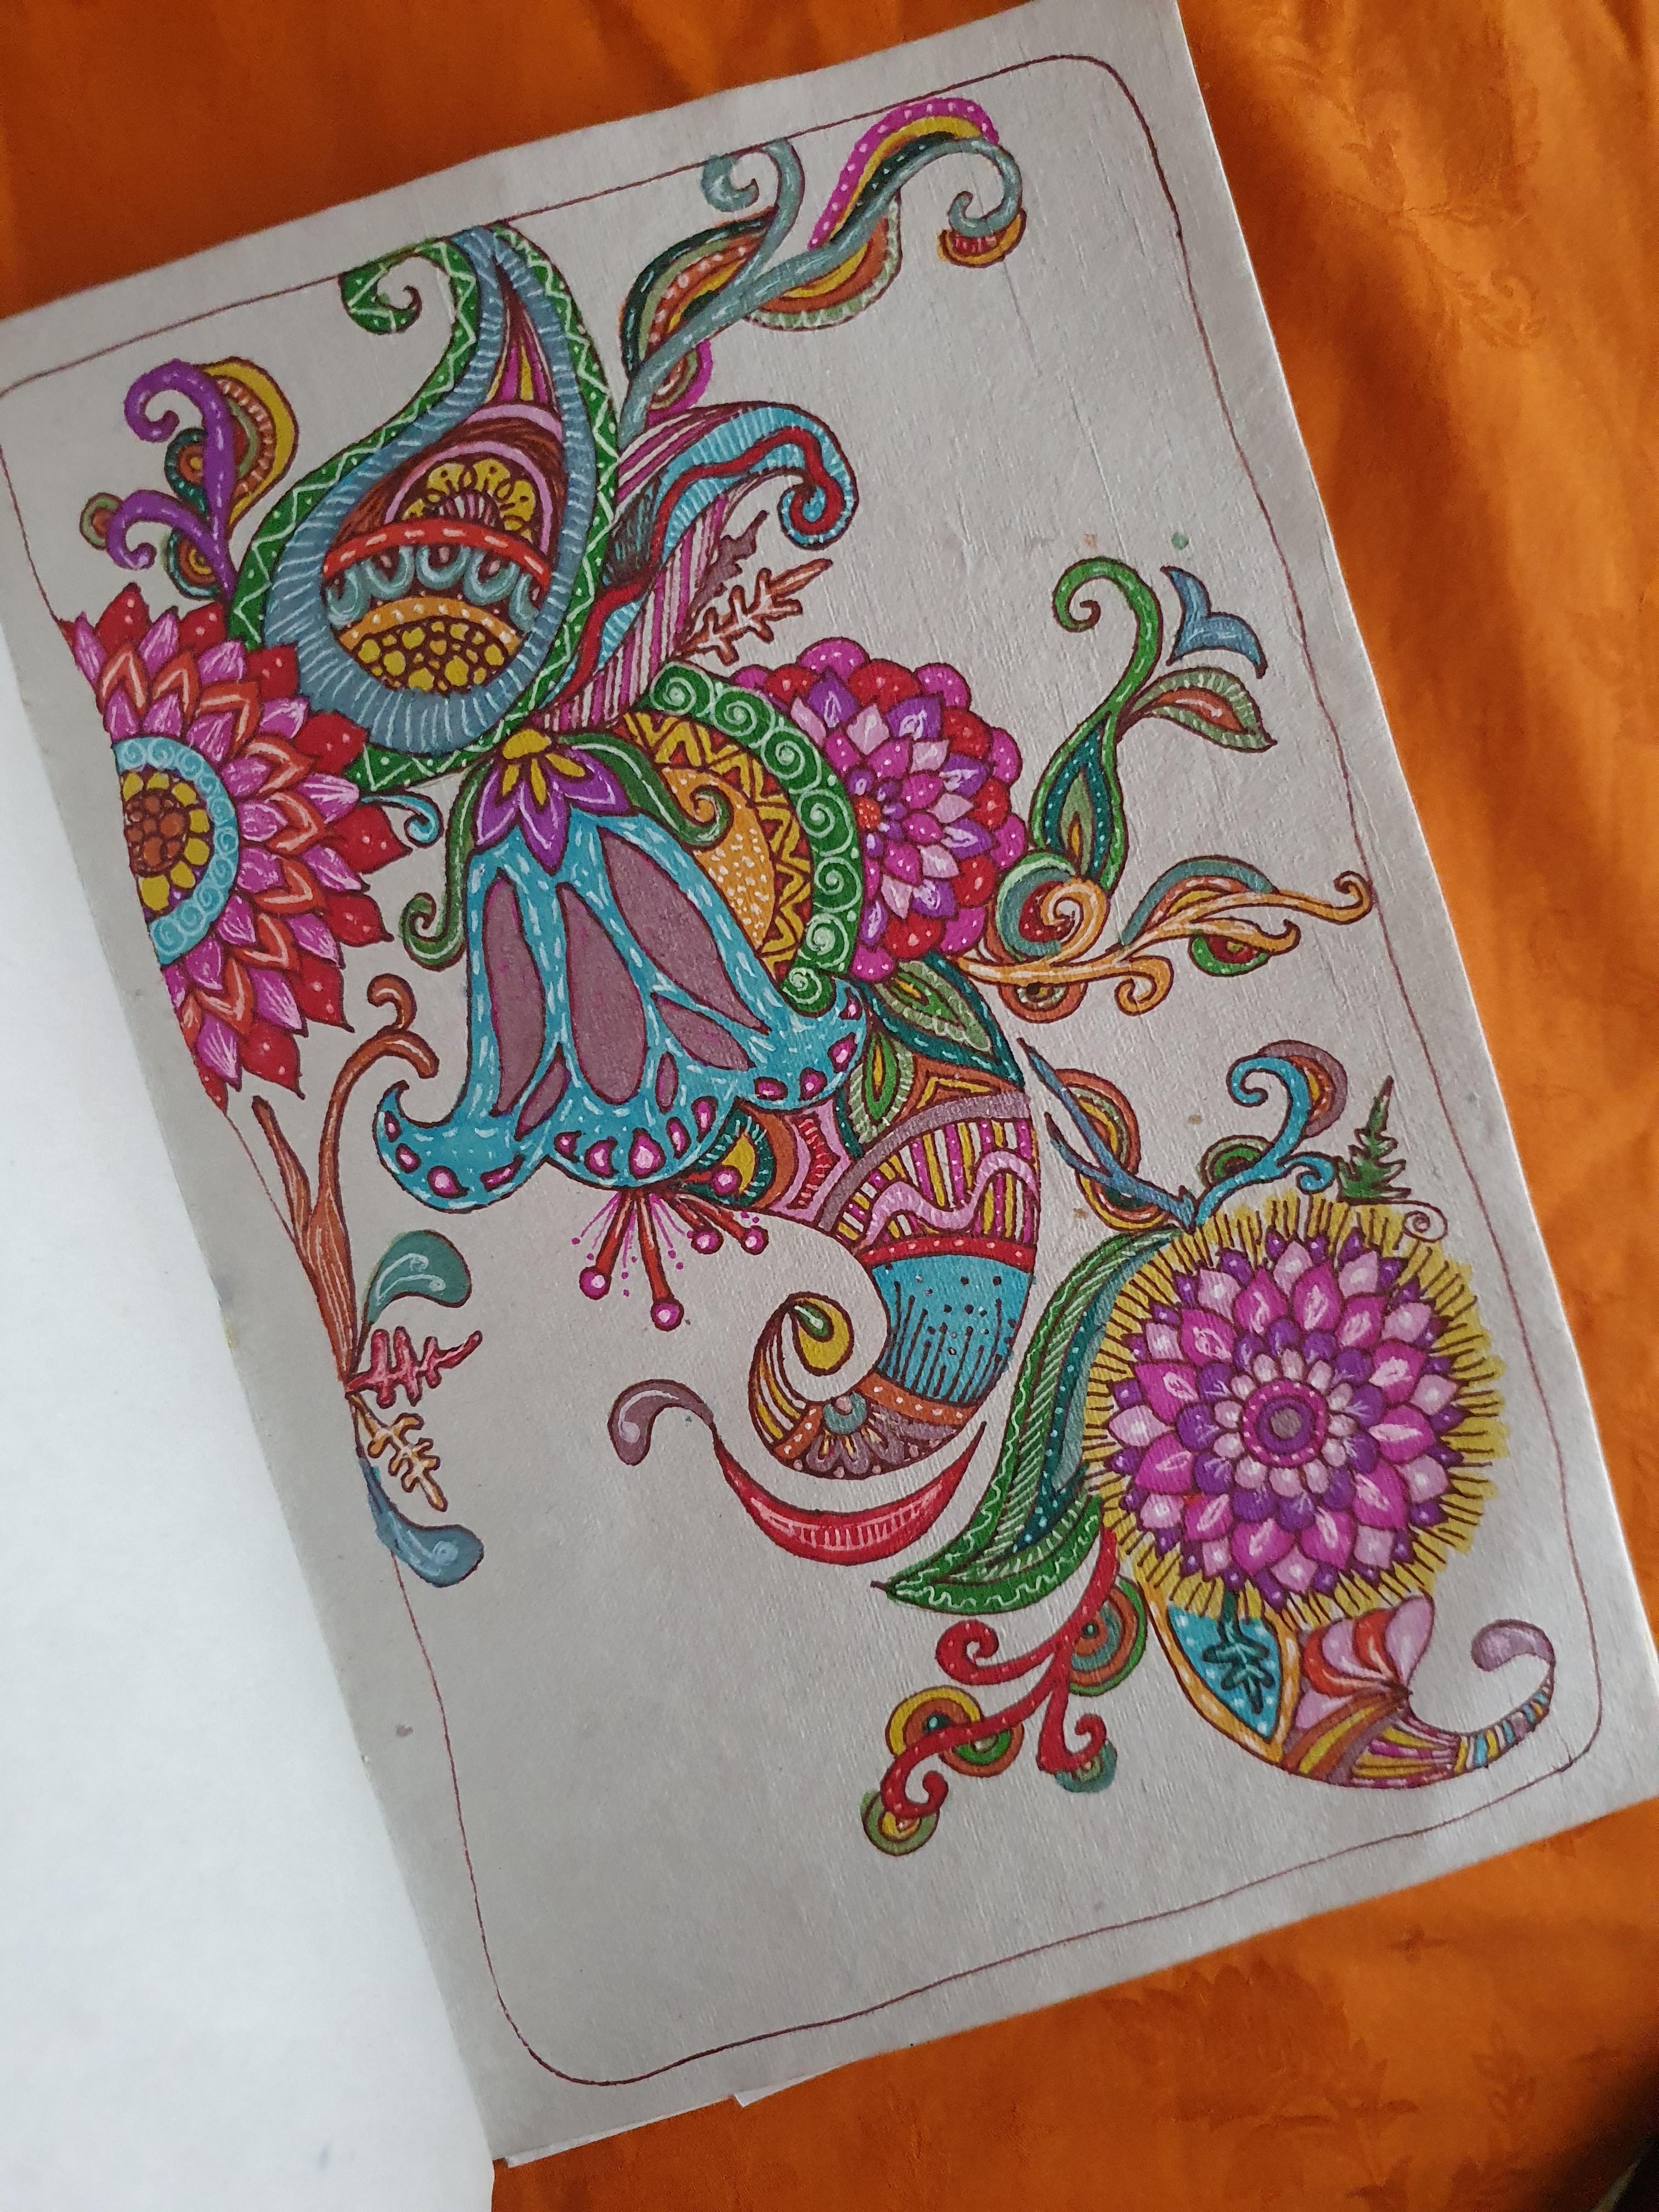
- Handmade Paper: These are widely available as loose sheets or even notebooks and journals. I had picked up mine while street shopping in Dharamshala. They work great for pens and markers. Some varieties might be suitable for watercolours or gouache as well, depending on the thickness.
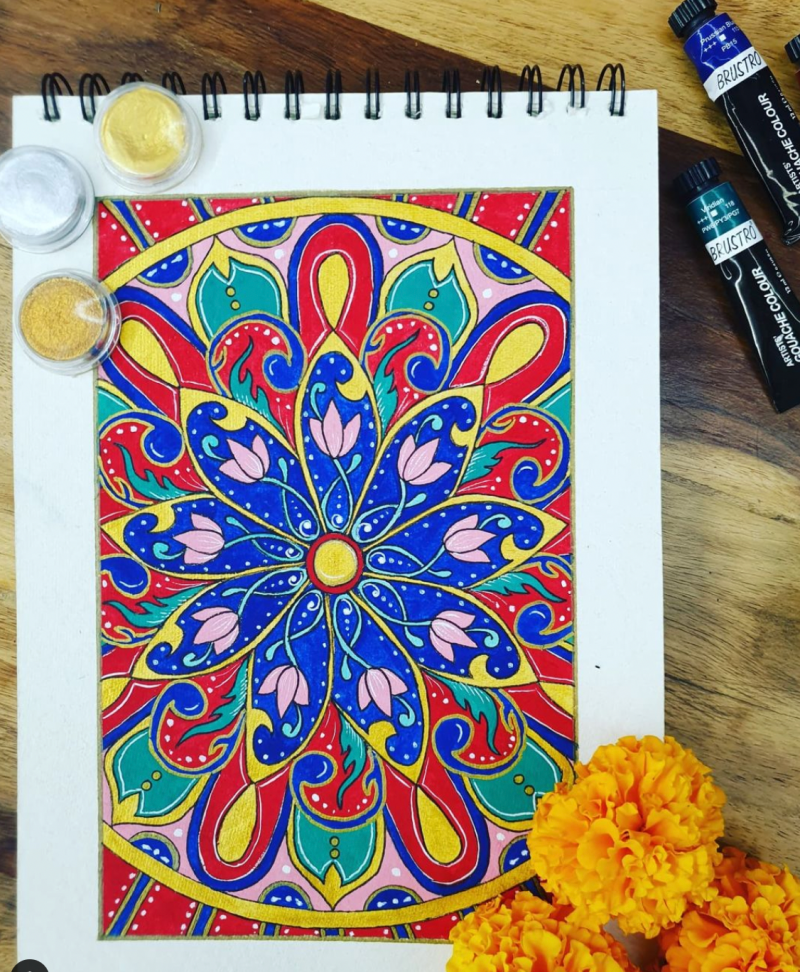
Colours I use for my Art:
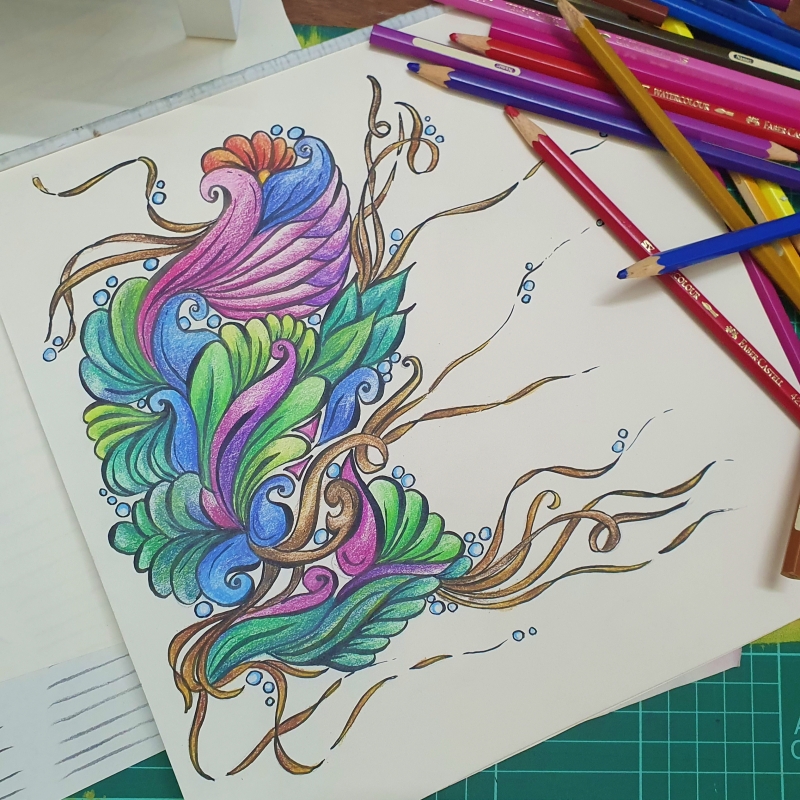
- Colour Pencils: I prefer the watercolour pencils over regular ones as they have more pigment, so the colours are brighter. You can keep your art texture as pencil or blend it like watercolour.
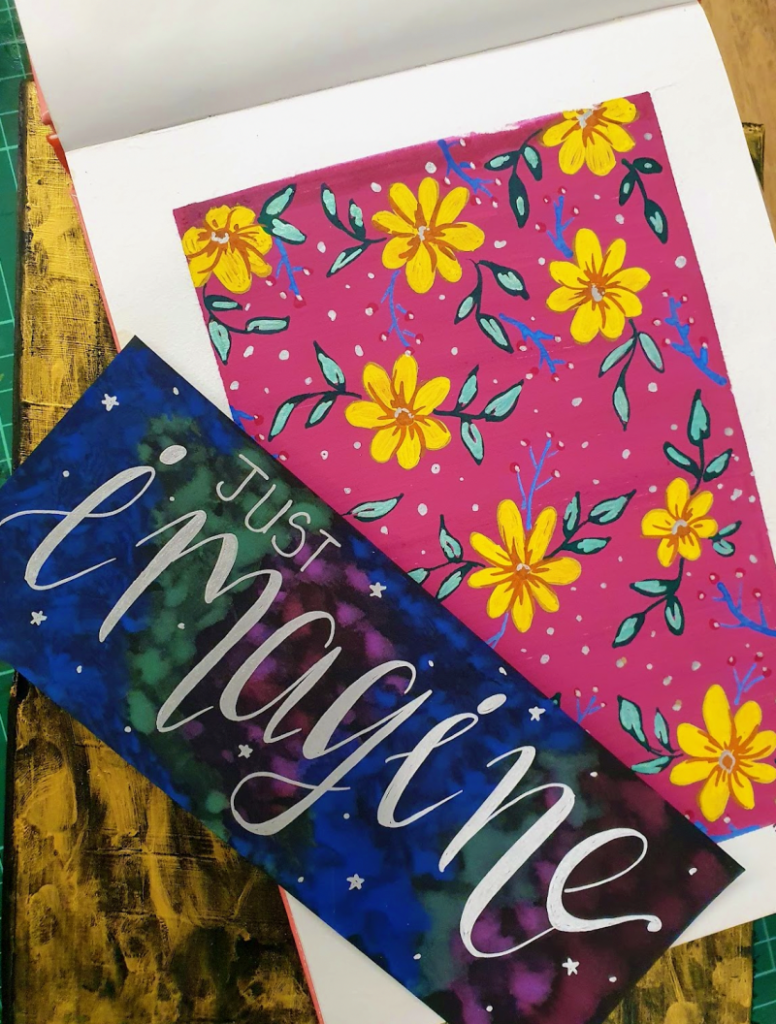
- Gouache: I am not comfortable with the fluidity of watercolours, but gouache paint lets me have a lot of control. These are basically opaque watercolours, so you can also use lighter colours on a dark background. They are water-based, so you can reactivate it with some water even if they dry out on your palette.
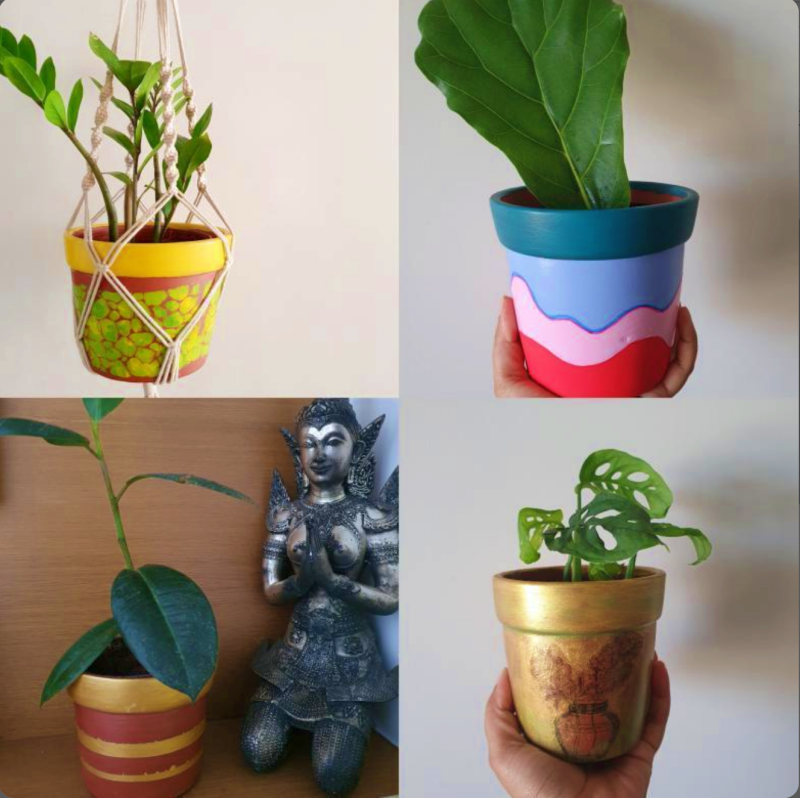
- Acrylic Paints: I use acrylics to paint many things that are not paper or canvas. They’re great for DIYs like painting on metal, wood, or plastic. Fevicryl is widely available and has a great range of colours. I’ve used them for paint pour projects with a pouring medium, but Itsy Bitsy has pouring paint with better consistency for the same.
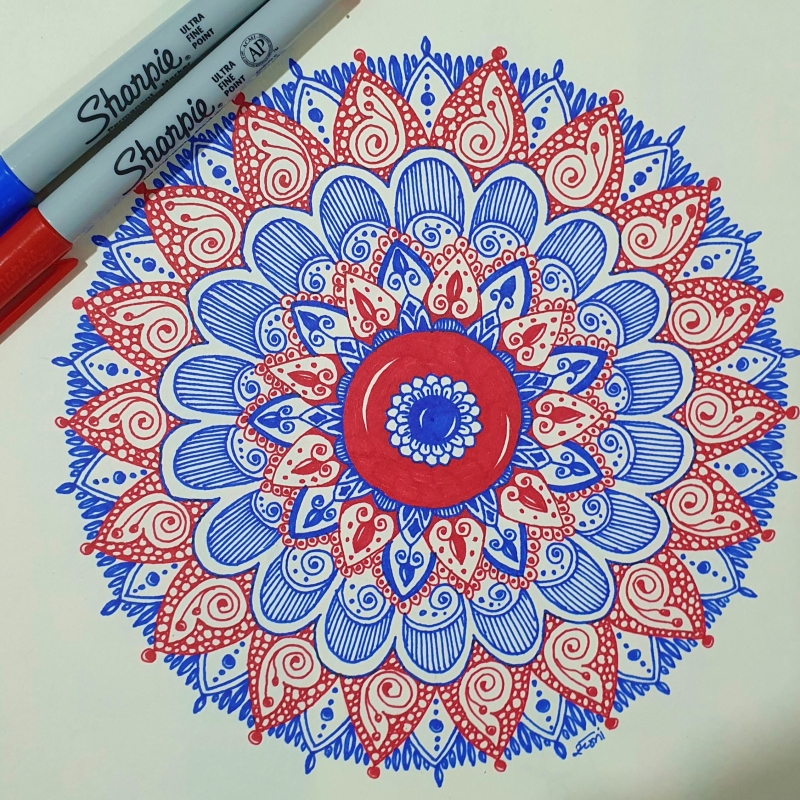
- Alcohol-based markers: I love using these because the colours are so vibrant and give a smooth finish. I love Sharpies because they’re so affordable. However, if you plan to work mainly with these markers, you may want to invest in Copic markers. The best part is that they are refillable and come with various tip options. They might not always be available in stock though, so make sure you have enough before starting a project.
- Pigment markers: One of the main drawbacks of Alcohol-based markers is that the colours fade over time. Water-based pigment markers are longer lasting, but the colours are not as vibrant or smooth. When painting larger areas, you will get a patchy result. They are great for calligraphy and line drawings.

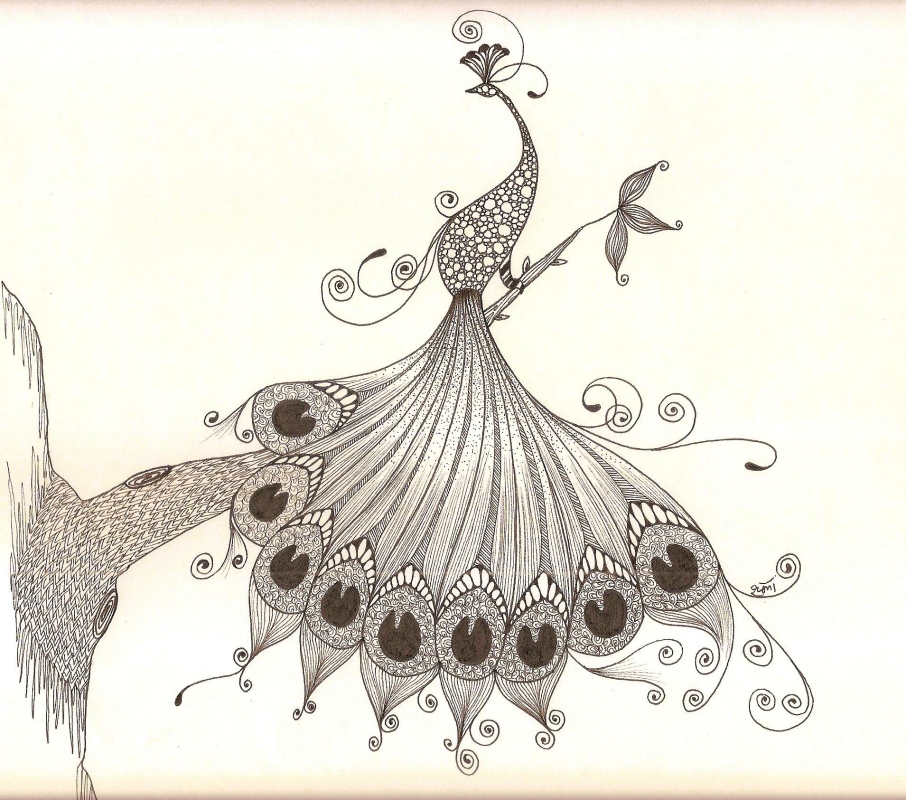
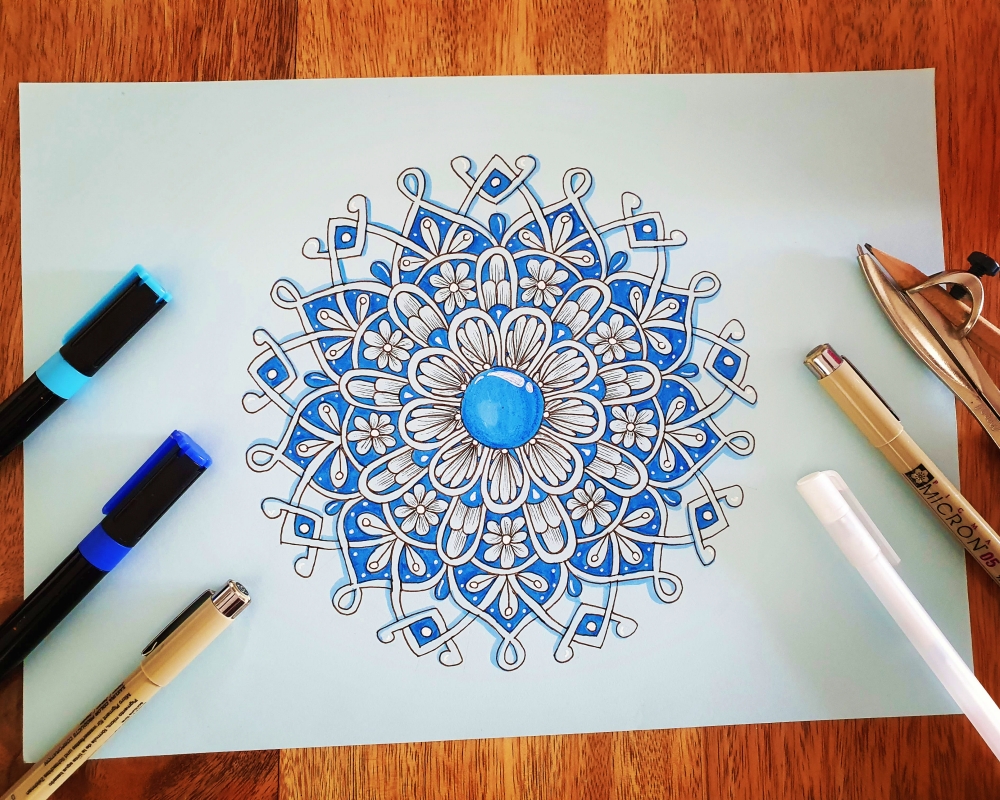
- Fine Liners: Fine liners are great for outlining your artwork or just for line drawing of any kind. My favourite is the Sakura Micron set. They come in a few colours and with varying types of nibs. The black ink is classic, and I use it for almost everything. These are also waterproof, so they won’t bleed if you colour over them.
- Brush Pens: Brush pens are great for a variety of artwork. You can practice calligraphy with these or colour in your artwork like regular markers. These are water-based and take a tiny while to dry, making it easier to blend two or more colours for some depth in your piece.
- Paint Markers: These are paint-filled markers that work by pumpkin the nib (gently) to start the flow of ink. They are vibrant and can be used on multiple surfaces. Paint markers are much easier to use, and unlike acrylic paints, these can be used on most papers and other non-porous surfaces. The only drawback is that the nib is delicate and can sometimes overspill the ink or just break.
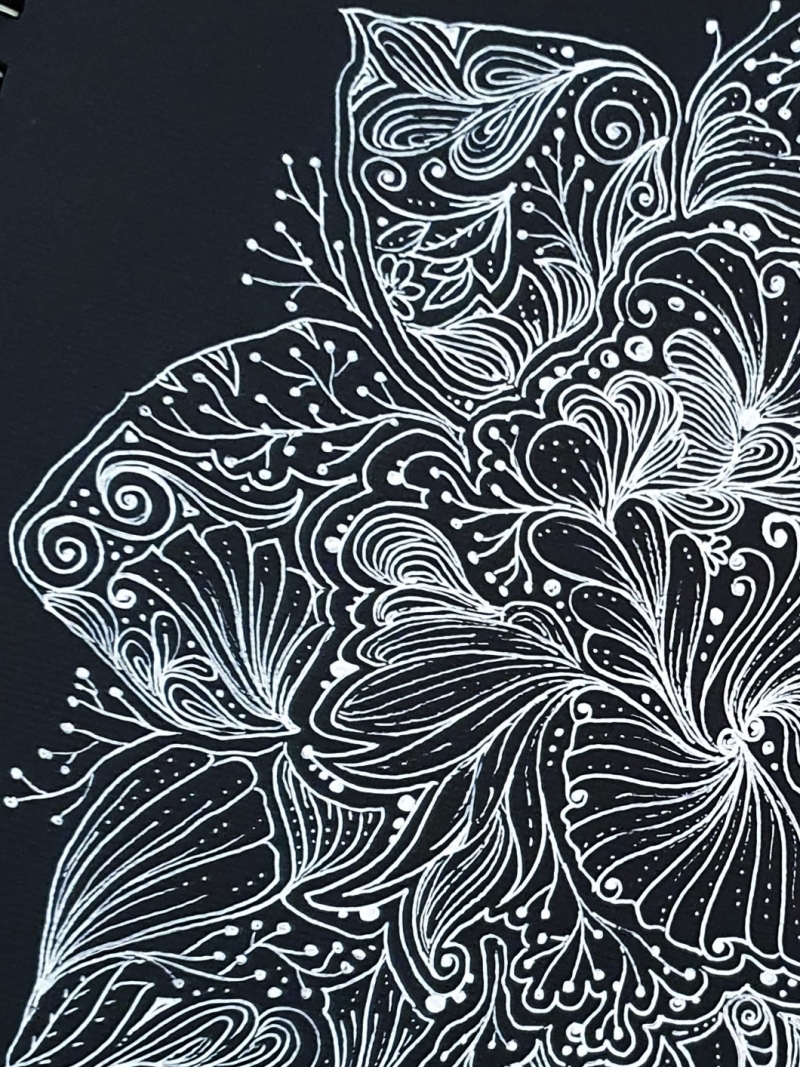
- Gelly Roll Pens: These opaque ink pens are perfect for embellishing your artwork or creating a piece on dark or black paper. Gelly Roll pens are opaque and show up beautifully on black paper. They’re available in a variety of colours, including metallic.
Essential Utilities I use for my Art:
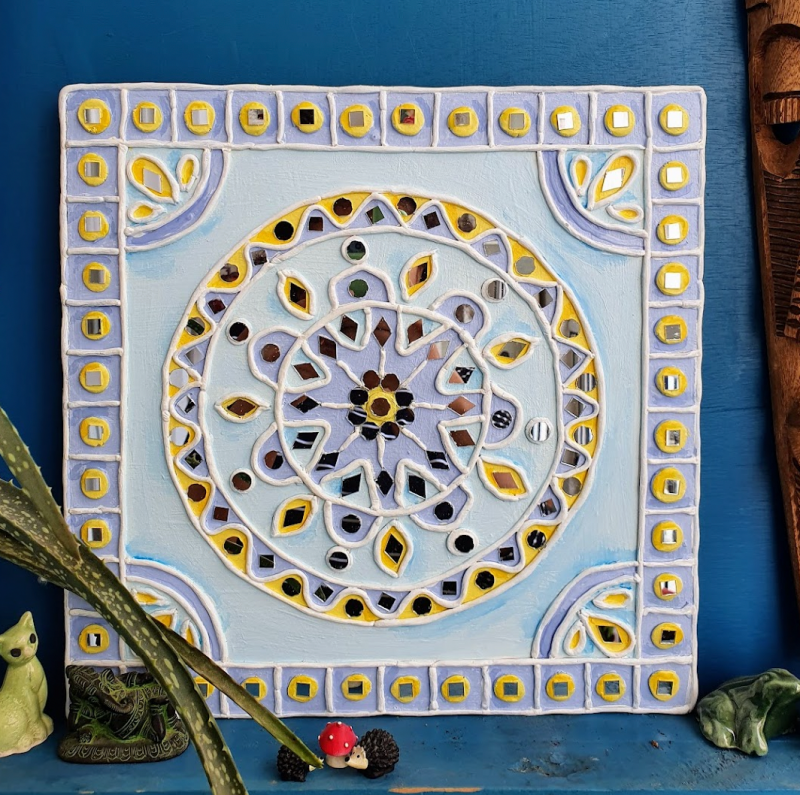
A basic school geometry set would suffice for most of my artwork, including mandalas. But for more accuracy and bigger pieces, I need more specialised tools.
- Ruler: A grid ruler is super helpful when you need to make a lot of lines and don’t want to measure the distance each time. These transparent rulers come with a set grid to draw your lines faster.
- Compass: I use the standard school geometry kit for my regular practice. But if I need to draw bigger circles or insert a pen instead of a pencil, then a more specialised compass makes life simpler.
- Protractor: Although a regular protractor works great, a 360 deg angle and circle maker is much quicker, especially for a Mandala grid.
- Eraser: Art erasers are worth buying, even for regular use. They are dust-free and last longer.
- Cutting mat: A self-healing cutting mat is not essential if you don’t do craft projects, but it is a handy tool to have. You can use a blade to cut paper over it without harming your work surface or the mat. It has guided lines that help you position your paper for straight lines each time.
- Paintbrushes: I prefer rounded brushes instead of flat ones because of my art style. I find that synthetic bristles hold heavier mediums like acrylic and oils and are easier to clean. For finer lines, a detail brush set is a must.
- Colour Palette: Acrylic paints dry out if left on the palette and can be peeled off. However, I rarely use acrylic and find it too much effort to clean up afterwards. I just save up small take away plastic food containers and their lids. For gouache or watercolours, any regular palette would work well. White plastic or ceramic give you a better idea of the colour you’re mixing.
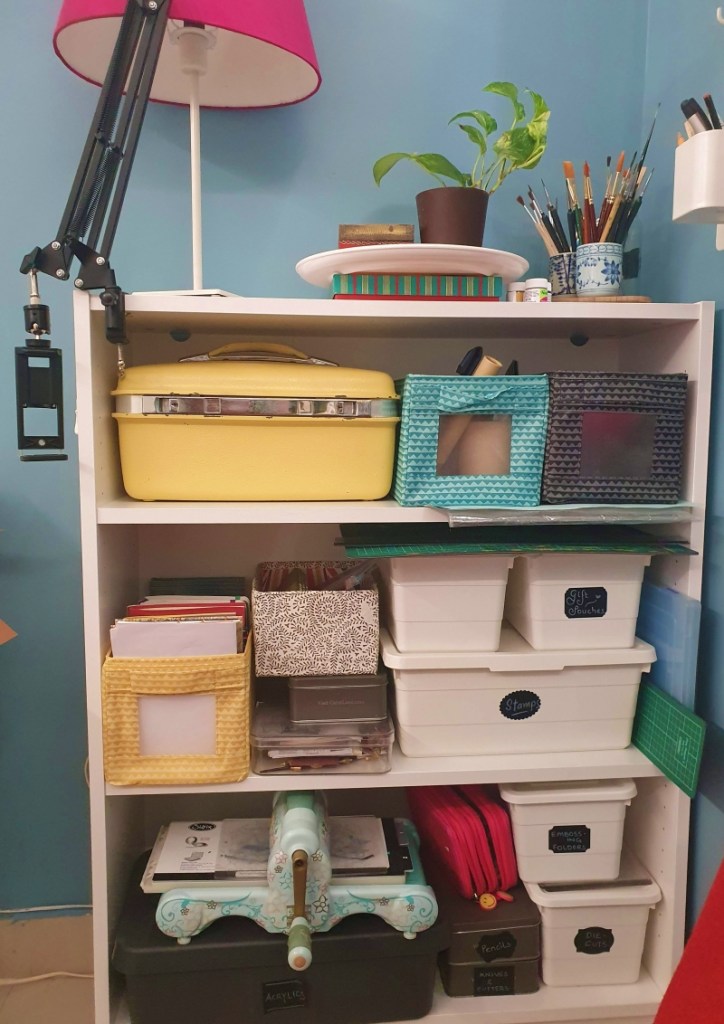
How I Store my Art Supplies
Repurposed boxes: I’ve written previously about how I upcycle cardboard boxes to use them around the house. The same goes for cookie or tea tins. So many companies spend a handsome amount on packaging these days, so it seems like a criminal waste to just throw them. In the picture below is a cardboard box decorated with wrapping paper I made around 6 years ago, a small package I got with some junk jewellery that I embellished with gold paper and lace, and the colourful box is as received when I ordered a gift pack from Monsoon Harvest.

Ikea boxes: I absolutely love their storage solutions. Each cupboard and shelf in every room of my house has been organised using various boxes from IKEA.
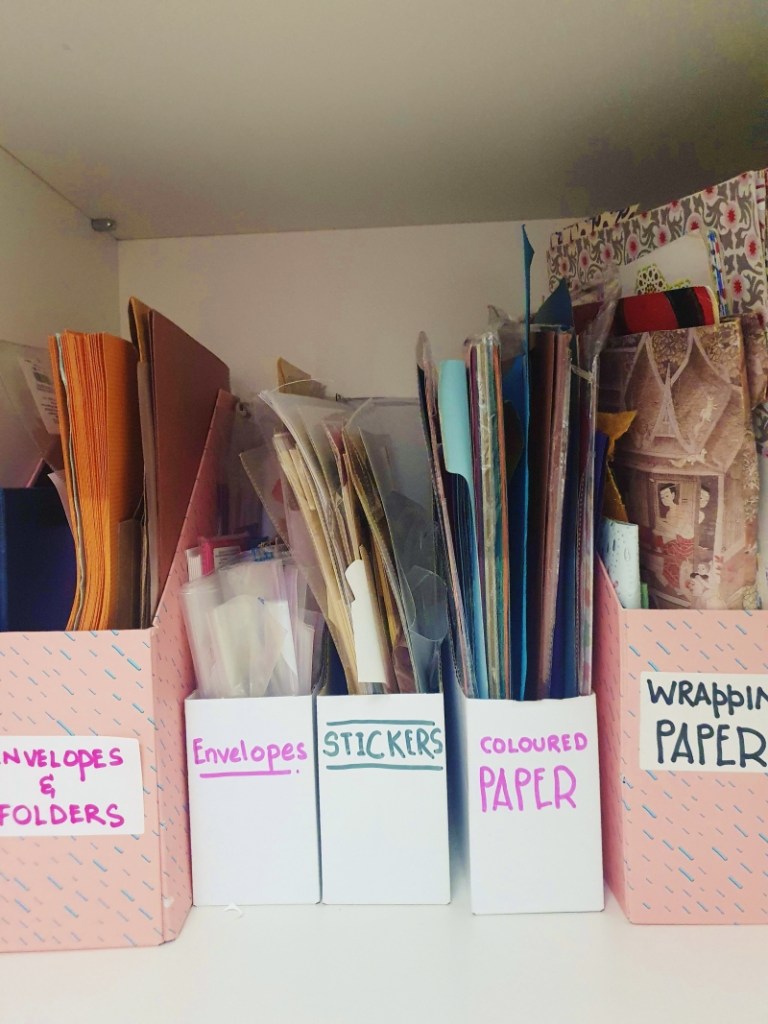
Folders: Magazine holders are great for sorting out your paper supplies.
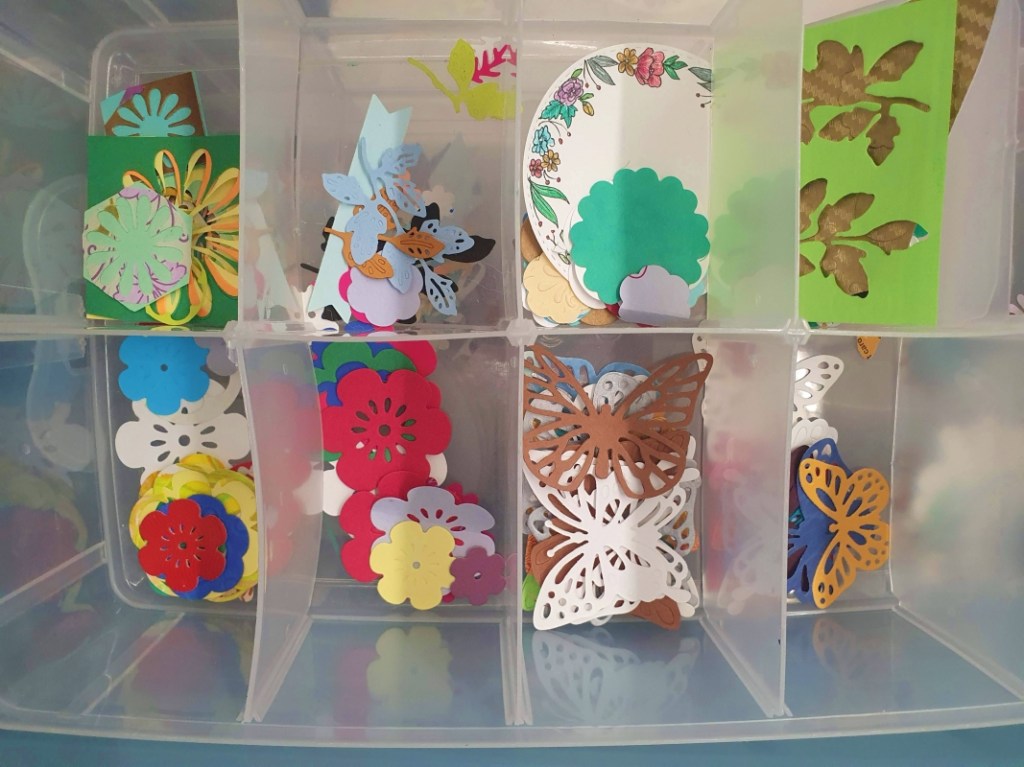
Multi-compartment boxes: I had bought this stackable storage box for my son’s Lego blocks, but as his collection expanded, I replaced it with larger boxes. Now, I use this to sort my embellishments.
Looking at this list, you might feel that art is an expensive hobby. But it needn’t be. I used nothing more than regular gel pens and notebooks for the longest time. When I started to get more serious about experimenting with different styles and potentially selling my work, I invested in more expensive art supplies.
There are still many artists who turn out extraordinary work with just basic art materials. Don’t let art intimidate you. Just start somewhere and see where it takes you!
Note: Some links are part of an affiliate program, which means that if you click on a link and buy something, I might receive a percentage of the sale, at no extra cost to you.


Leave a comment