
I have scrolled through hours of arts and crafts tutorials over the last year and have been tempted to try each one of them. Some seemed easy enough; others were a distant dream.
Bookbinding was one such tutorial. The videos look so beautiful—the old-world charm of making something with your hands how people did it hundreds of years ago. I always felt you’d need special tools and skills even to try a basic version.
There are many different book binding types. Some of them need special book binding materials that you wouldn’t necessarily want to invest in. Thankfully, I came across some tutorials that a beginner like me could try with stuff you’d generally have at home.
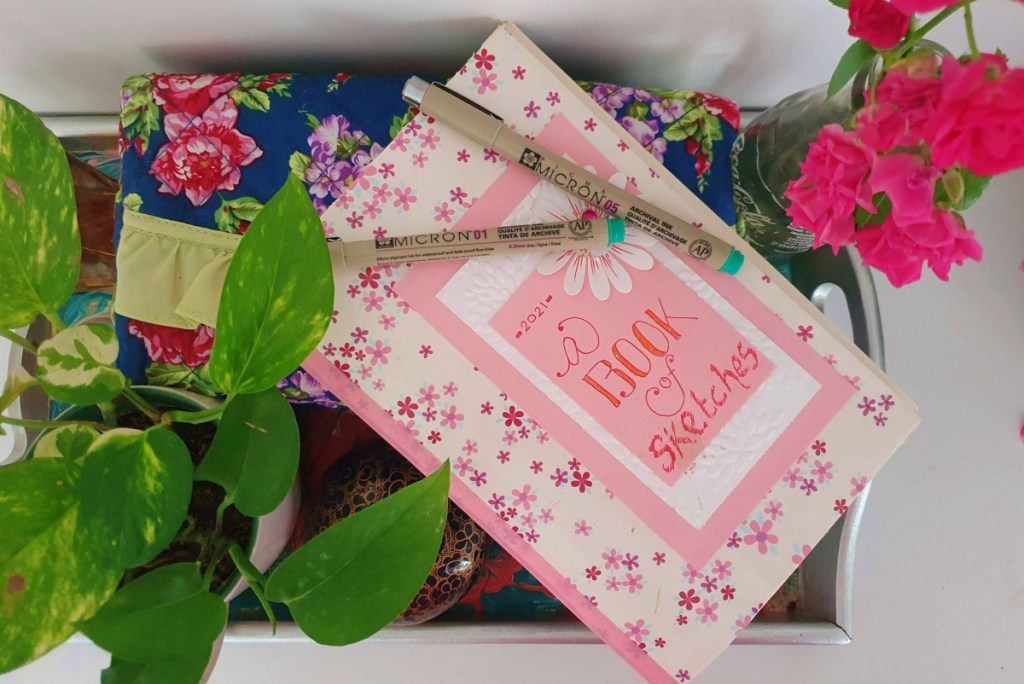
I had a bunch of loose papers from a tear-away sketchpad that was just getting tossed around in my drawer. It was the perfect time to make use of them and try bookbinding at home.
Book binding supplies
- Loose sheets double the size of the book you want. We’ll be folding these sheets in half
- Sharp pin or needle to poke holes
- Thread and needle to sew the spine
- Decorative paper for cover (optional)
- Decorative tape to hide the outside threading (optional)
- You could also get a bookbinding tool set if you plan to do this often
DIY Bookbinding How To
Step 1: fold the loose sheets in half
Step 2: open them up and stack them together. Keep aside.
Step 3: Choose a thicker paper of the same size, or cover one of the sheets with a decorative paper to use as cover.
Step 4: fold and stack along with the inside pages
Step 5: mark the points at the centrefold of the paper stack. This is where you will poke holes for stitching
Step 6: with a sharp pin, poke holes through the stack
Step 7: thread a needle with some colourful thread and sew the centre of the book.
Step 8: using decorative tape, hide the spine where the stitching is visible, or keep it as it is.
Step 9: you’ll notice that the pages don’t line up. If it’s a big difference then using a paper cutter just slice through the overhang a few pages at a time.
Step 10: decorate the cover as you like and start using the book.
Easy Peasy!
I’ve been using this book to practice some still life sketching. I can’t wait to try some modifications on the next one I make.


Leave a reply to Unique Gift Ideas For Valentine’s Day – Love, Life, & Beyond Cancel reply