
Indian folk art has so many treasures to offer. Each region of the country has unique art forms that are distinct and elegant. From the papiêr maché trinket boxes of Kashmir and Madhubani paintings of Bihar to the Kerala murals and Tanjore paintings of South India, the themes and techniques vary significantly. Art is one of the things that unites the country.
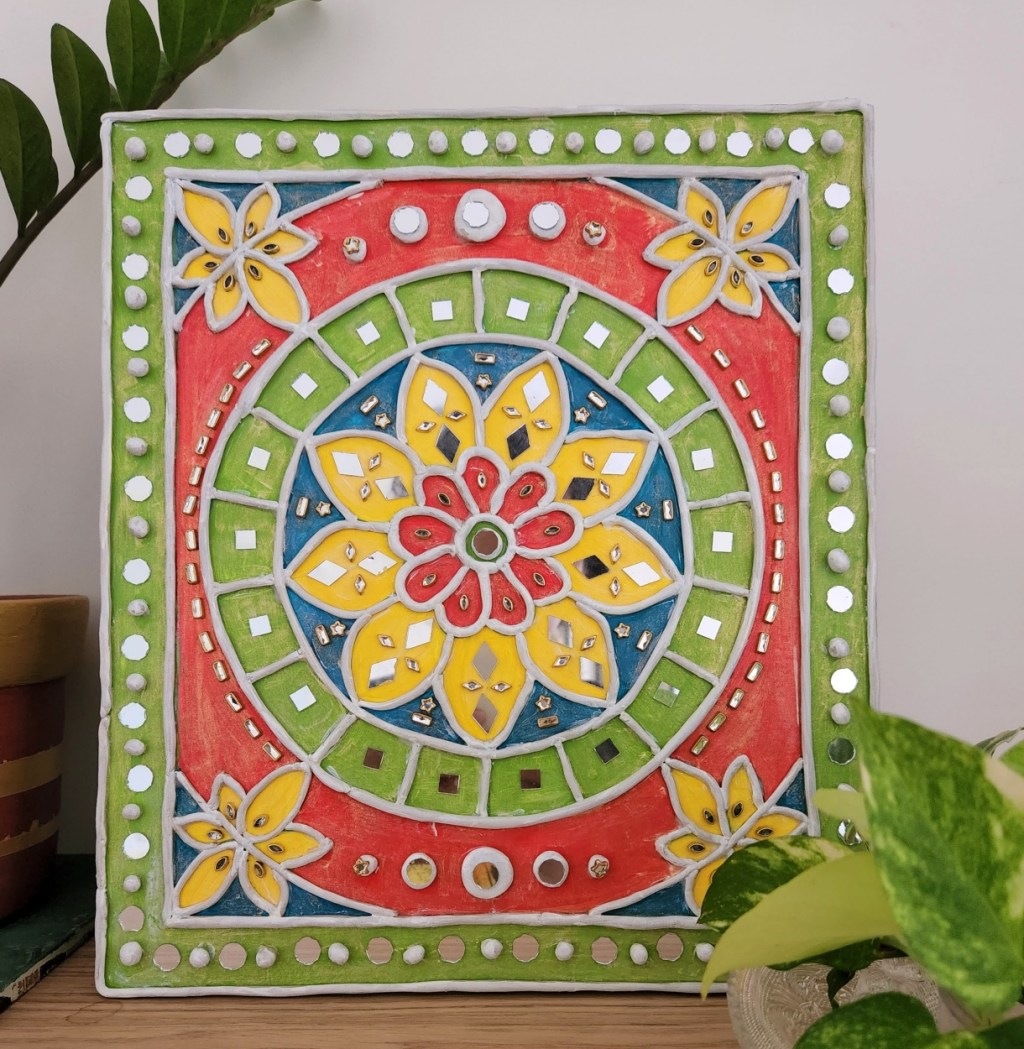
One such form of traditional Indian art is Lippan art. Lippan art comes from the deserts of Kutch in Gujarat. They can be as colourful or subtle as you want them to be, embellished with tiny mirrors that sparkle and twinkle in the sun or moonlight.
Lippan Kaam: Traditional Mud and Mirror work
Traditionally, this art form was made on the exterior walls of huts in the desert region of Kutch. The mud and camel dung would keep the house cool in the scorching summer heat, and the mirrors would reflect the sunlight away from the house.
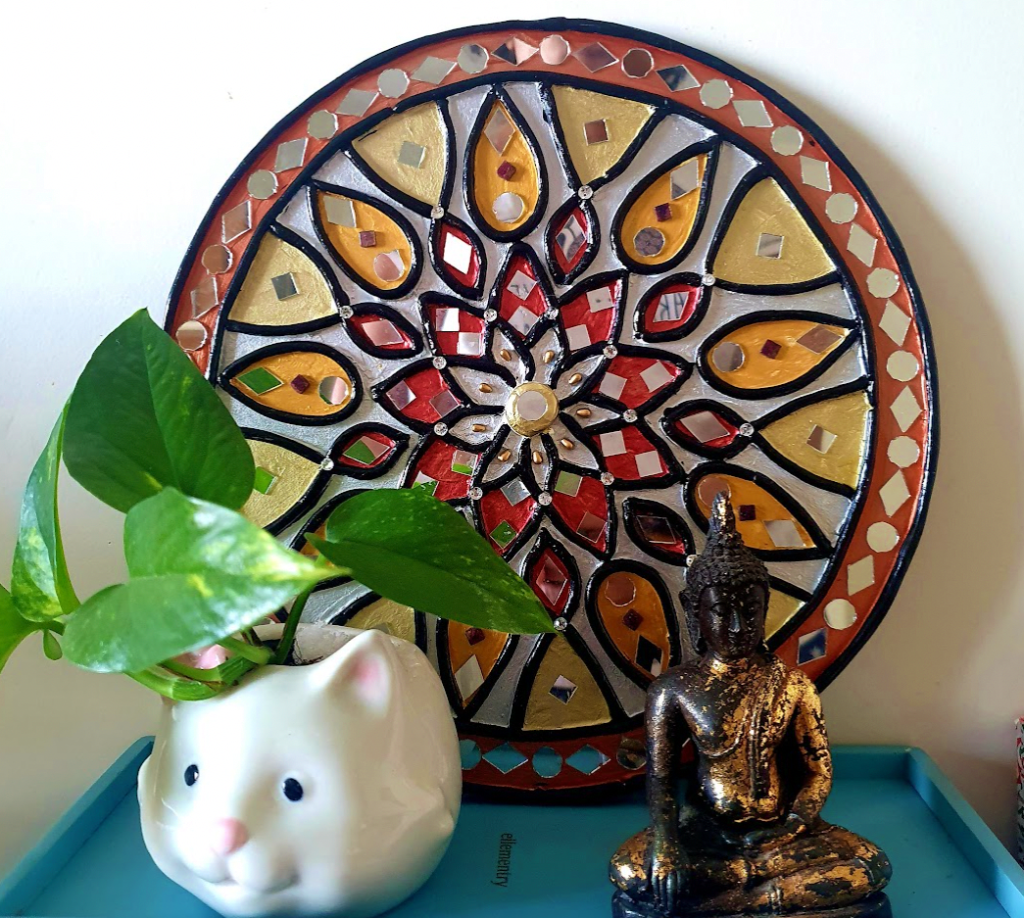
These days, this art form is more commonly used for decorative purposes. Lippan art can be made on interior walls as murals or on smaller wooden boards as wall hangings.
Lippan Art for Beginners
It took me a long time to start this project because I thought it would be messy and cumbersome. However, I was surprised at how easy it was. It took only a few tries to get the hang of handling the moulding clay, and then it was smooth sailing.
Many artists recommend using clay that you make with marble powder. However, as a beginner, I found that the readymade clay is much easier to manage, not to mention less messy. It is basically like PlayDoh, but more permanent.
Mirror Work Art DIY Kit
If you plan to make a piece, the Lippan art material list is mentioned below. Smaller packs of each item could even be made into a Lippan Art Kit for gifting kids or crafty adults.
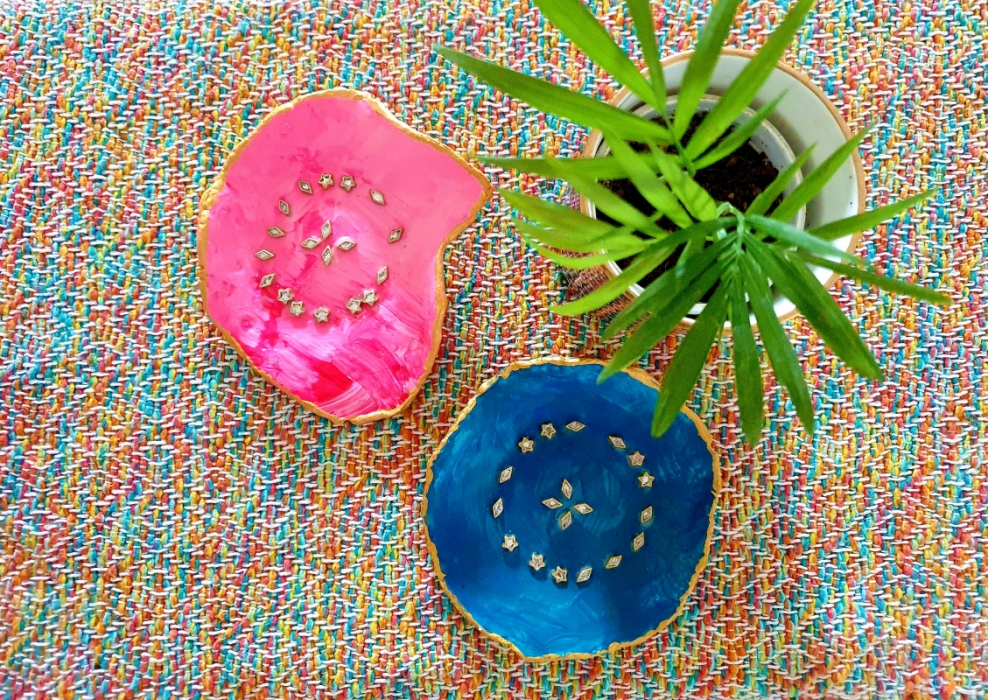
Also, instead of buying an MDF board to work on, you could use discarded items from around the house. Thick cardboard sheets or trays work well; I have used shelves from an old cabinet that had started to disintegrate and had to be discarded; I’ve also made small trays from the moulding clay and then embellished it.
You’ll need:
- MDF board
- Fevicryl Mould It
- Gesso
- Acrylic paints
- Varnish either matte or glossy finish
- Mirrors
- Glue
- Cornstarch powder
- Moulding tools (optional)
- No-drill hooks
- Frame hangers
How to Make Lippan Art at Home
- Clean and prime your surface with gesso. Let it dry completely for a few hours.
- Make a pattern using a pencil. You could design a freehand drawing or a geometric pattern.
- Ensure the patterns you make are big enough to accommodate the mirrors.
- Colour the pattern as you like.
- Keep a tray with cornstarch ready on the side before you start with the clay.
- Combine the Mould It clay as per instructions on the box.
- Divide the lump into smaller pieces and gently roll it into long thin strips on the tray sprinkled with cornstarch.
- Apply glue on the board where you want these clay strips to go, and place the clay onto it.
- You can even try moulding the clay into different shapes and sticking it on the board. The mirrors can be placed on top of these shapes. Let your creative mind take over.
- You’ll need to work a little faster as the clay will start drying within 15 to 20 minutes, causing cracks to appear on them. Mix just half the pack if you don’t like to be hurried.
- Once your design is all glued in, let it dry for a few hours.
- Paint the clay strips with acrylic paints. I like to keep the strips white or black, so they stand out in the design.
- Let the paint dry for a day.
- Coat your work with a layer of varnish and let it dry for a few hours.
- You might think I’ve forgotten about the mirrors at this point, but no. I prefer to glue them on after the paint and varnish, so I don’t need to clean the residue off each tiny mirror. I did that for my first piece, and it took me a good hour to clean the mirrors.
- Glue on the mirrors on the design. You could get mirrors in different shapes to enhance your piece.
- Place the hangers at the back of your piece if you’re hanging it on a wall. The no-drill hangers are great for smaller items, especially if you have concrete walls that require a whole process of drilling a small nail into them.
Things to make with moulding clay


Moulding clay is such a great crafting tool. It’s versatile and easy to use. You can make a variety of things for yourself or gifting.
- Trays: We made some trinket trays as Thank you gifts for my son’s teachers
- Sculpture: My son made a sculpture of himself to gift to his dad to keep on his office desk.
- Jewellery: Using some basic jewellery-making accessories, you could make stunning pieces to wear and gift.
- Wall hangings: Small wall hangings with a rope attached to the clay can make a wonderful gift or a charm for your main door.
- Decorate household items: Use the clay as mentioned above to decorate vases and boxes around the house.
- Keychains: Bag or phone charms and keychains are easy to personalise with clay and paint.
So, what are you making today?
Note: Some links are part of an affiliate program, which means that if you click on a link and buy something, I might receive a percentage of the sale, at no extra cost to you.


Leave a comment