I love looking at the colourful piles of rangoli colours on carts that line the streets around the time of Diwali. The bright, beautiful hues in a myriad of colours fill my heart with joy and get me in a festive mood. This year, I decided to make rangoli colours at home. It was easy but time-consuming, and I loved the results.
I’ve only bought the commercial rangoli colours a few times in my life. I prefer to use chalk and flowers instead of struggling to make delicate patterns with powder.
Making rangoli colours at home couldn’t be simpler, and best of all, it’s natural and eco-friendly. All you need is rice, refined flour, and natural food colours or use stuff from the spice rack.
I ground the rice into fine powder. The rice flour from the store is too fine, so I prefer the homemade one, which is slightly granular. It gives a nice texture and flows smoother. I added refined flour with a ratio of 1:1.
Next, I separated this mix into different bowls to add different colours. I mixed some blue liquid food colour with a bit of water then kneaded it into the flour mix. Mix it well with your hands till the flour is coated well with the colour. Add more water if needed.

I used a paste of green leaves for my green, turmeric for yellow, and orange lilies for a pale orange. I should’ve used marigold or carrot pureé for a brighter shade. If you have the time and patience, you could use beetroot puree for a deep red colour and cinnamon powder for brown. You could even try and experiment with different things around the house.
Mix the colours in well, then flatten them onto some mats and leave them in the sun to dry. This usually takes 2 to 3 days to dry completely so prepare well in advance. Once they’re fully dry, they’ll break into pieces easily. I tried to use a heat gun to speed up the process, but it just started to cook the flour instead of drying it.
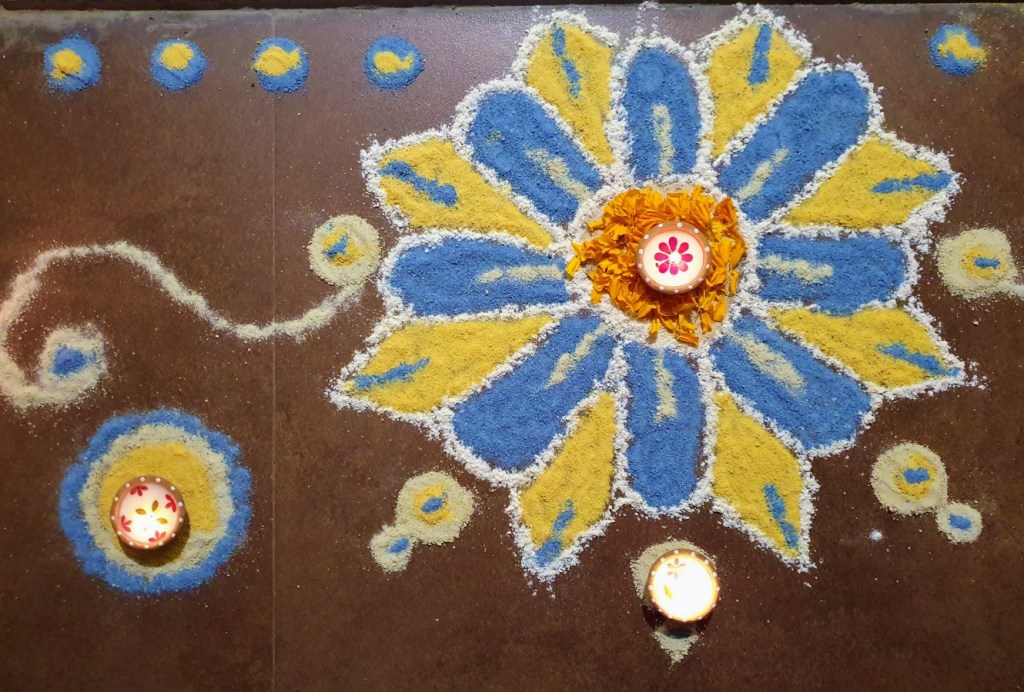
Grind the dried paste into a fine powder (each colour separately, of course). Now you’re ready to make your design. The colour powder flows smoothly, but you may want to practice drawing a line with it before making your final design.
There are so many tutorials on the Internet on easy and creative rangoli designs. I just went for the free-hand method. You could use chalk to outline your design if that helps.
I embellished my rangoli with some beautiful diyas and flower petals.
It was a fun activity that I did with my son, who also enjoyed mixing the colours. He also made a small rangoli with his friends, but the making quickly turned into Holi with them throwing colours at each other. Sigh! At least it was natural colours, and they had fun!
Musician: Firefl!es
URL: https://www.youtube.com/watch?v=eoplw2Cc3xc
Easy Rangoli Ideas
Of course, making colours from scratch is not something we do every year. It is time consuming and amid the Diwali Fun, we don’t always have time to spare. If you can plan ahead and make this a week or two beforehand, it’s great.
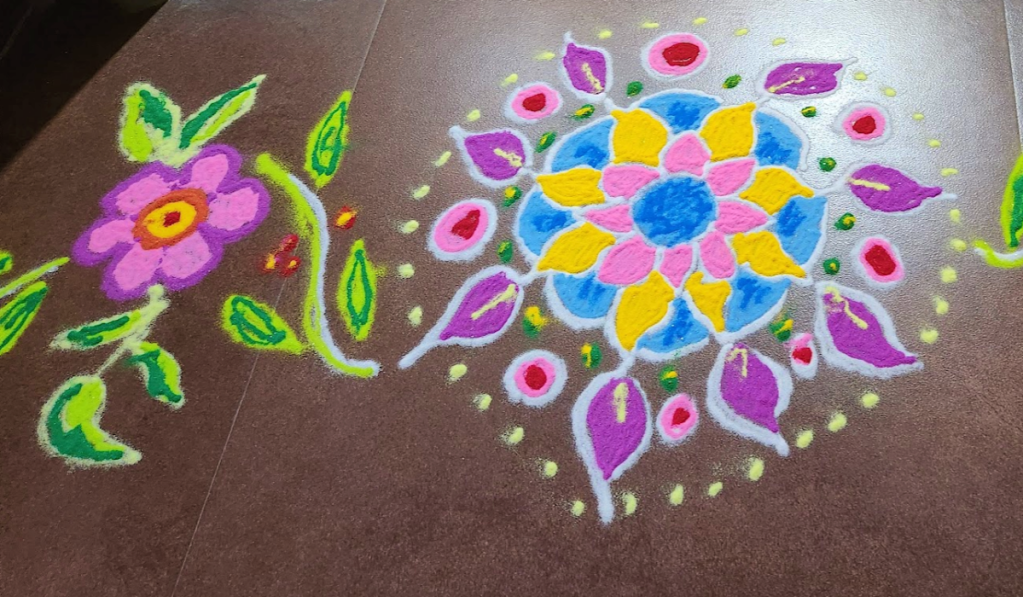
For those who would rather spend their time in other ways, there are many options. You can always get bottled rangoli colours that are easy to use by kids as well. We got a pack of 12 colours and made a couple of different designs. The neighbours’ kids also joined in and were given some space to make their magic.
Diwali is about having fun with people you like having around you, and this is just one of the ways to do that. The final design doesn’t have to be even close to perfect, but have fun making it and it will be a memorable one.


Leave a comment