

I’ve always loved stickers—they’ve been a little obsession of mine since I was a kid. I even still have a sticker book from the late ‘90s, filled with stickers I never used as I didn’t want to commit. Good stickers are hard to come by, so when I stumbled across a hack to make your own stickers, I couldn’t resist giving it a shot.
What started as a simple DIY project quickly turned into a creative rabbit hole of possibilities. From upcycling materials like online shopping receipts (my absolute favorite method!) to experimenting with different papers and designs, I discovered so many fun ways to create custom stickers. Not only is it an eco-friendly way to reuse and recycle, but it’s also a super satisfying way to personalise your crafts and gifts.
I use these homemade stickers for decorating gift wrap, letters, and cards, or even as gifts for friends. If you’re into journaling, you can have a stash of personalised stickers on hand to add flair to your pages. Whether you’re a seasoned crafter or just looking for a fun new activity to do with your kids, here are some easy, creative ideas to make your own stickers at home!
Online Shopping Receipts (Upcycled Stickers)
This method upcycles receipts and doesn’t cost anything in materials.

What You Need:
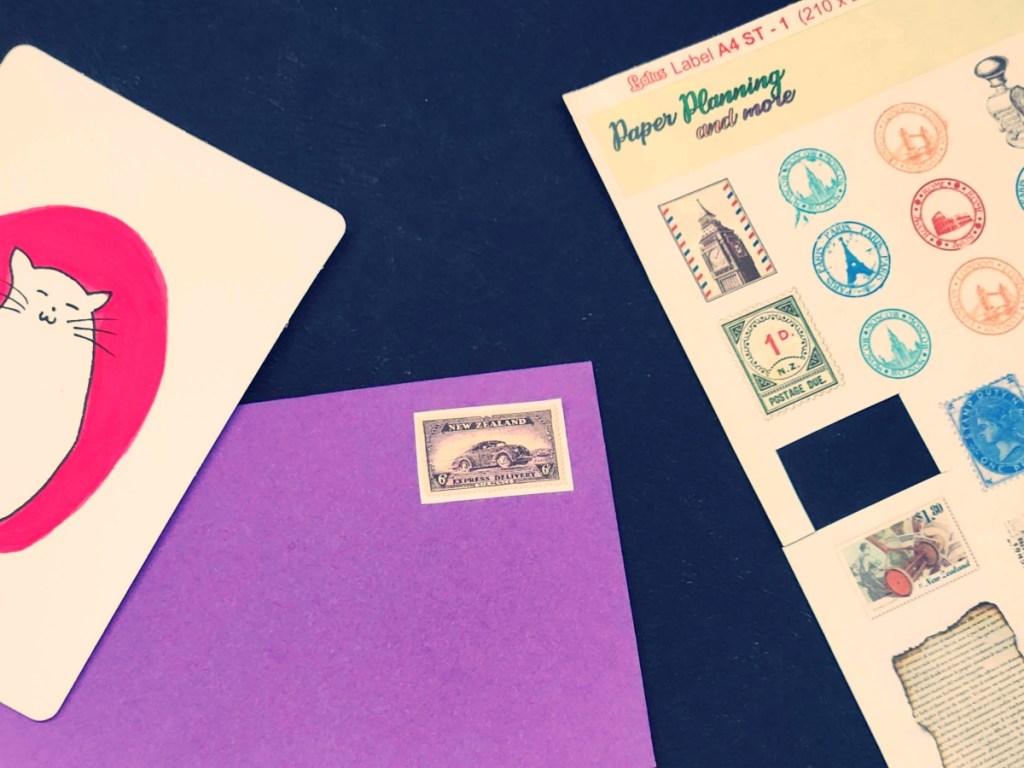
- Printed receipts or labels from Amazon packages
- Scissors
- Pen or Colouring material
Instructions:
- Many online shopping packages come with receipts printed on sticker paper. Some of them have empty space at the bottom that you can use to draw and then cut out your doodles to use as stickers.
- You can even use white opaque paint to paint over the printed receipt and use it to make a larger sticker.
Clear Tape Stickers
This is a no-fuss method, perfect for turning magazine cutouts or doodles into quick, glossy stickers.


What You Need:
- Clear tape (wide packing tape works best)
- Printed images, magazine cutouts, or drawings
- Butter paper or non-sticky side of sticker paper
- Scissors
Instructions:
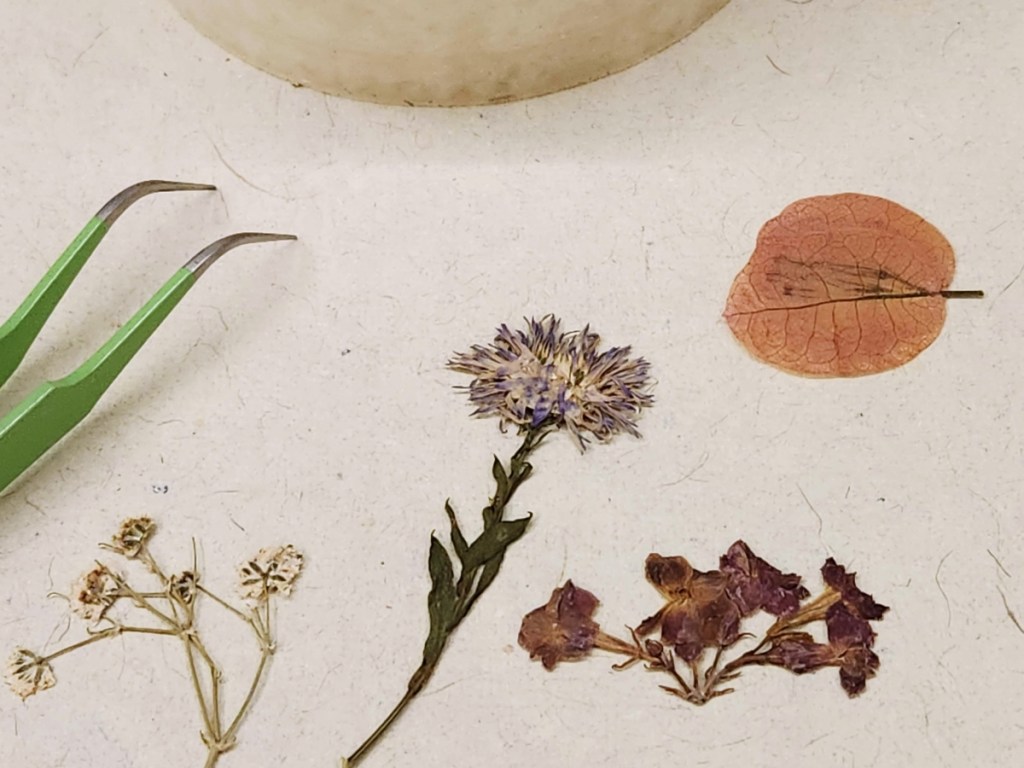
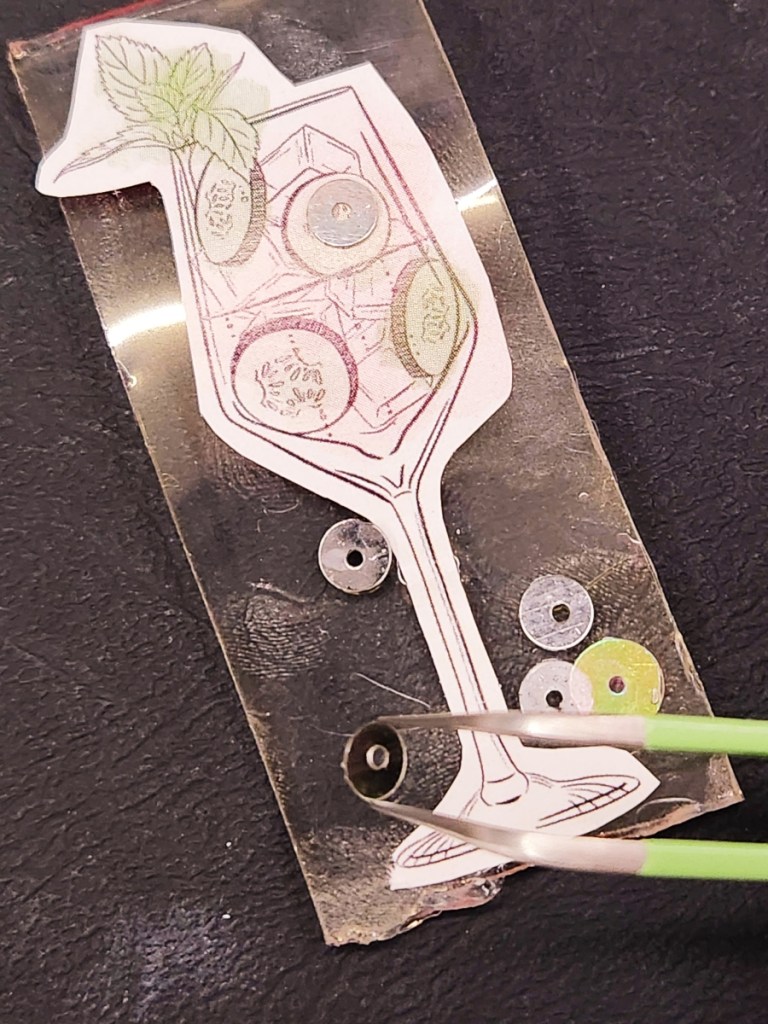
- Choose an image or draw something you like and cut it out. You can even use flowers and leaves.
- Stick a piece of clear tape roughly the size of your cut out onto the butter paper.
- Place the design on this and then cover with another piece of clear tape. Now your cut out is sandwiched between the 2 layers of tape.
- Trim the edges for a cleaner look.
- Remove the butter paper backing and use or add it to your sticker book to use later.
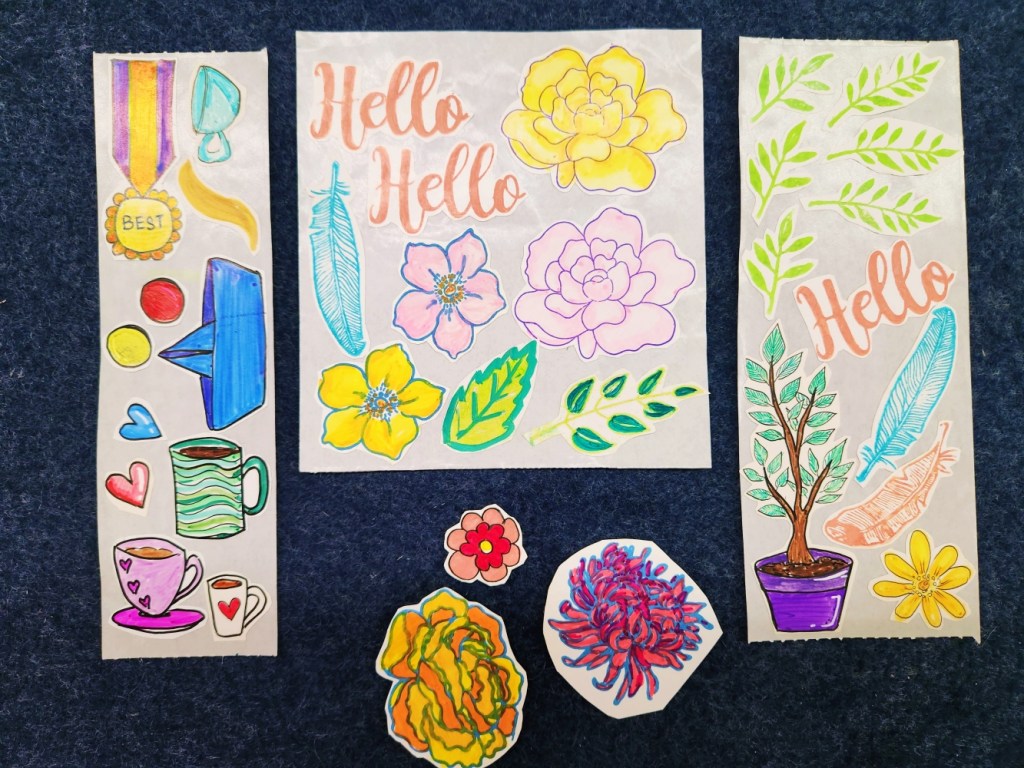
Sticker Paper Sheets or Rolls
This method gives you professional-quality stickers that are perfect for customised gifts, planners, or party favors.
What You Need:
- Sticker paper sheets
- Printer (optional)
- Pens, markers, or paints
Instructions:
- You can either print designs directly onto the sticker paper or draw on it using pens, markers, or paints.
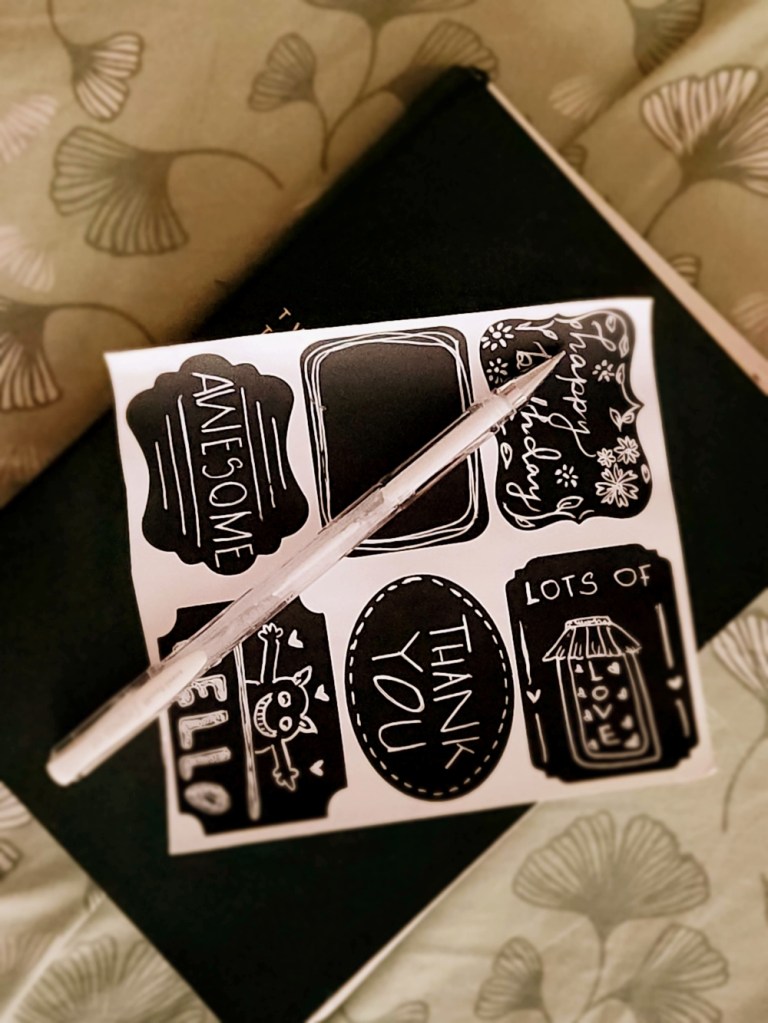
- I had many labels left over from an abandoned pantry project, so I used white gel pens to make them into tags to add to gift wrapping.
- Once your design is ready, cut it out with scissors or a craft knife.
- Simply peel off the backing and stick the sticker wherever you want!
Adhesive Foam or Glitter Sheets
Foam and glitter stickers add texture and sparkle, making them ideal for kids’ crafts, cards, or decorations.
What You Need:
- Self-adhesive foam sheets or glitter sheets
- Scissors
- Stencils (optional)
Instructions:
- Draw your design directly onto the back of the adhesive sheet or use stencils for precise shapes. You might want to stick with simple designs as the sheets would be thicker than regular paper and more difficult to cut through.
- Cut out your design carefully using scissors or a craft knife.
- Remove the backing to reveal the adhesive side and stick it wherever you like!
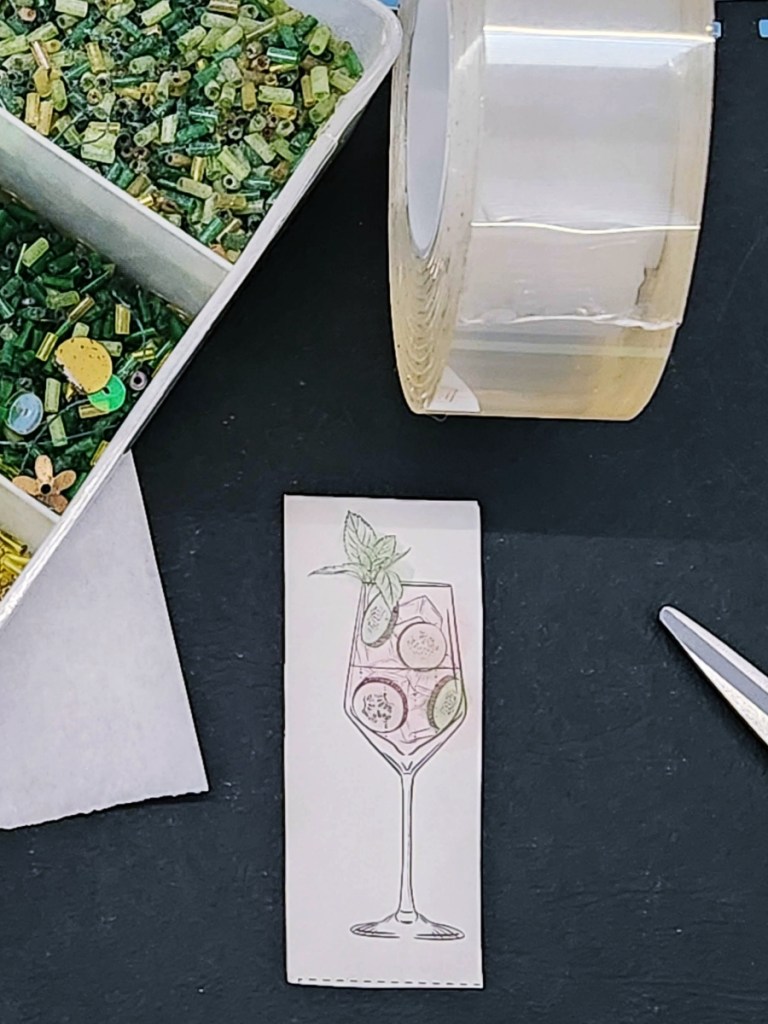
Double-Sided Tape Stickers
This is a super simple and versatile method, perfect for adding quick, decorative touches to gifts and crafts.
What You Need:
- Double-sided tape
- Paper or card stock
- Scissors
- Glitter, confetti, or small embellishments (optional)
Instructions:
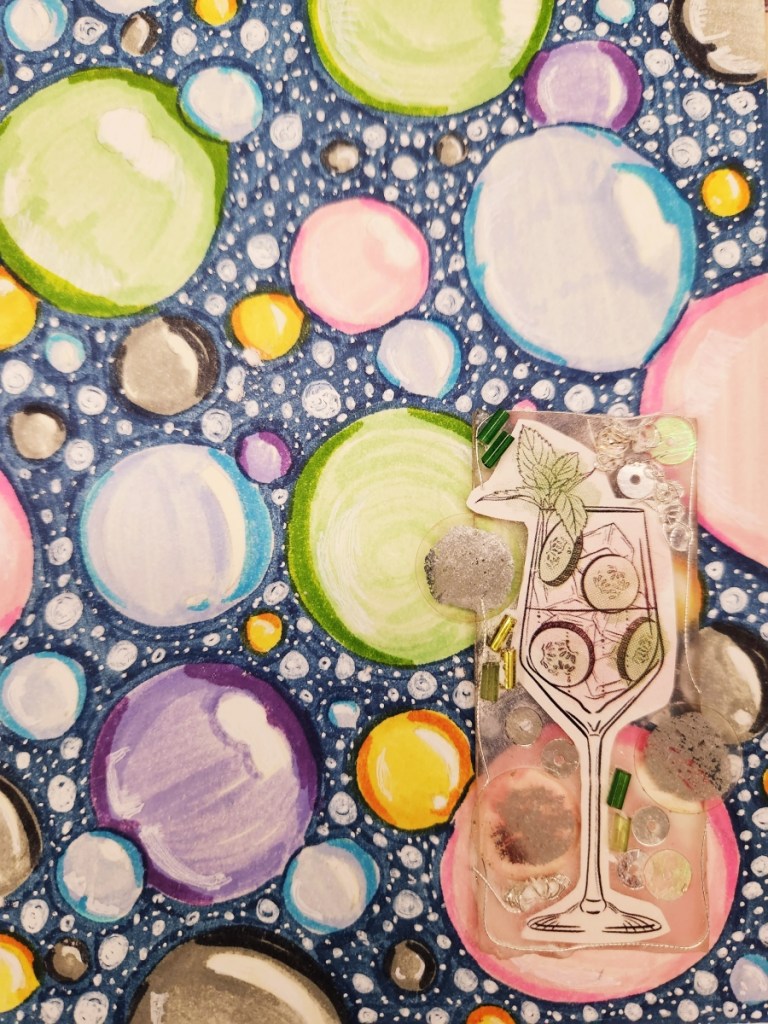
- Stick one side of the double-sided tape onto paper or card stock.
- Cut out the desired shape or design from the taped paper.
- Sprinkle glitter or press small embellishments onto the sticky side for extra flair.
- When ready to use, peel off the other side of the tape to stick it wherever you want.
- I used clear acrylic double-sided tape, and sealed the left over sticky areas with a dusting of cornstarch. Use a soft brush to dust off the excess powder.
Bonus Tips for DIY Stickers:
Here are some tips on how to make, use, and store your DIY stickers.
- Organize Your Stickers: Store them in a small sticker album, ziplock bag, or sleeve for easy access.
- Get Creative: Mix and match materials, like layering paper cutouts on foam sheets, for unique designs.
- Use it as a Gift: Add a sheet of stickers when you write a letter or card for someone, or give them as gifts to friends and family who would like to use them.
Making your own stickers is not just a fun DIY project but also a great way to add personality to your crafts, upcycle waste, and even create meaningful gifts. Give these methods a try, and soon you’ll have a collection of custom stickers perfect for any occasion!
Note: Some links are part of an affiliate program, which means that if you click on a link and buy something, I might receive a percentage of the sale, at no extra cost to you.


Leave a comment